3 Piece Canvas Art Diy Color Block
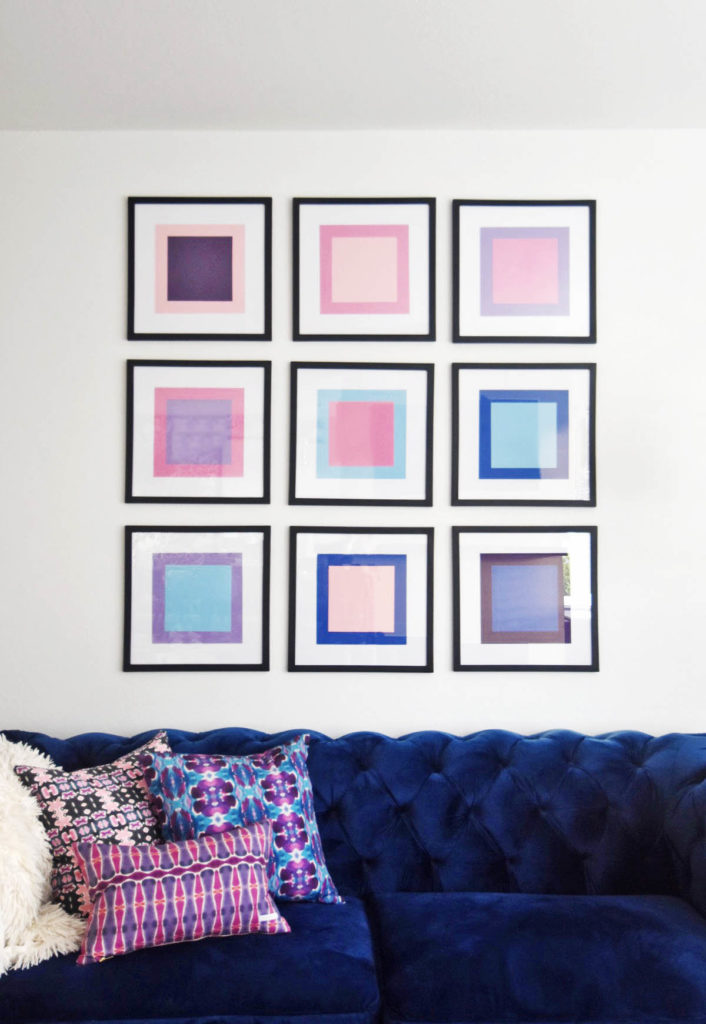
My living room reveal is alllllmost there (things take longer these days with the babe!) but I finally got my living room art up on the wall! This DIY Color Block Wall Art replaced my original artwork idea for the room, and it's an colorful, easy, and cost effective way to cover a large wall with art.
Side note : when creating DIY art for any room in your space, I am fully on board with saving money where possible. However, I do believe in buying good quality frames for your DIY art, as the framing and mat are what make something look professionally done, not necessary the art. I avoid plastic and any wood where the corner joints aren't perfectly flush, unless it is a vintage frame where this is part of the charm.

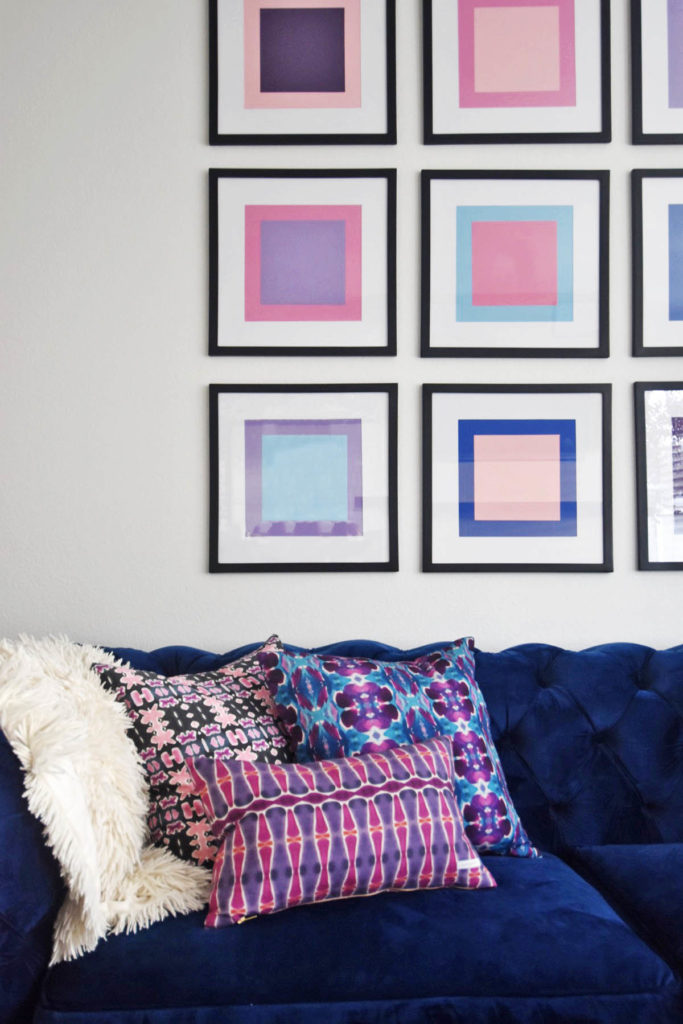
There really wasn't any particular inspiration for this project, but I wanted something bold and easy to complete. Originally I was going to paint a very large black and white abstract canvas, but instead I decided to play off of the colors in my stunning watercolor bunglo pillows. Its such a fresh color combination, and even though it incorporates a lot of pink, Mr. R is actually the biggest fan of this artwork, going to show that men should't be afraid of a little pink in the home!
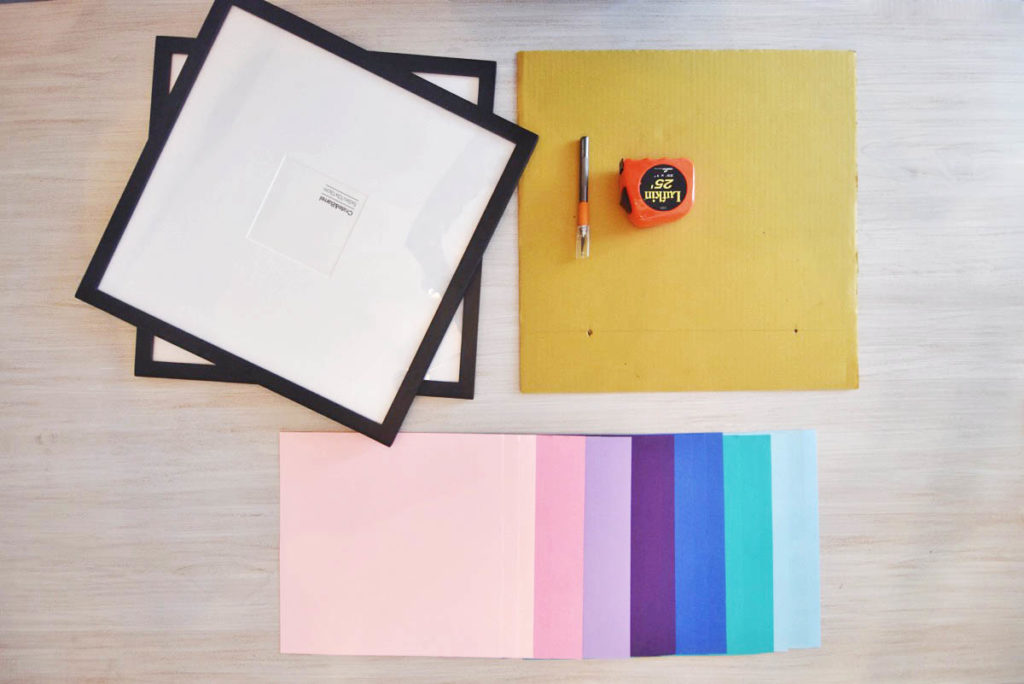
What you need
- 9 good quality frames, either rectangle or square. I used these frames from Crate & Barrel – They were a great choice because they came with smaller mats included that I could cut to my custom size.
- Roughly 20 sheets of scrapbooking paper from your local craft store like Michael's. I bought 7 colors altogether but ended up not using my teal, because I felt it stood out too much compared to the others.
- X-acto knife
- Ruler or measuring tape
- Scissors (not pictured)
- Double stick and regular tape (not pictured)
- Cardboard Template or Command Strips (to hang)
How to make DIY Color Block Wall Art
Step 1: Lay out your background colors in scrapbooking paper. I chose to have the background colors go in a gradient from lightest to darkest as a starting point.
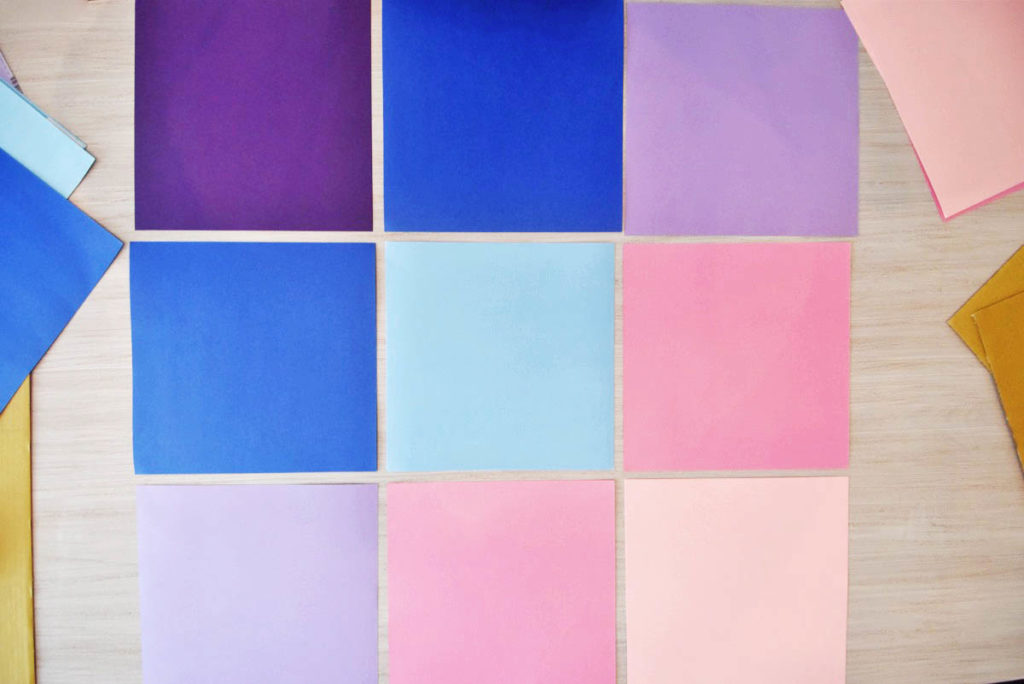
Step 2:I chose to have 8×8″ squares as the forefront color. I cut out 10 squares out of my remaining colors and played around with placement. I didn't want to have any repeating color combination, so I played with the layout until it felt right.
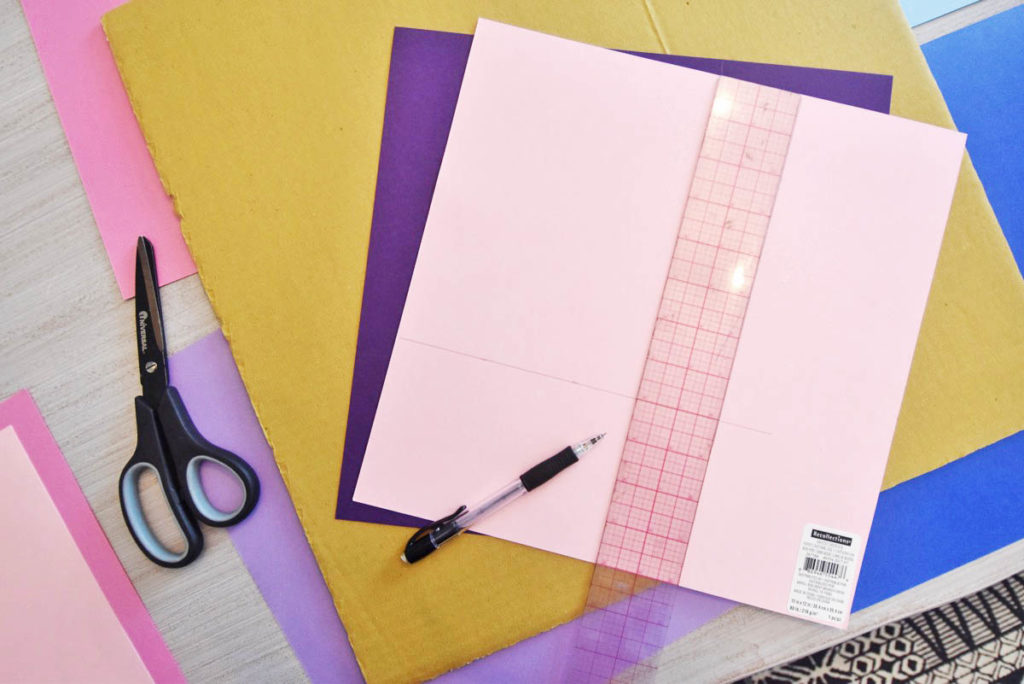

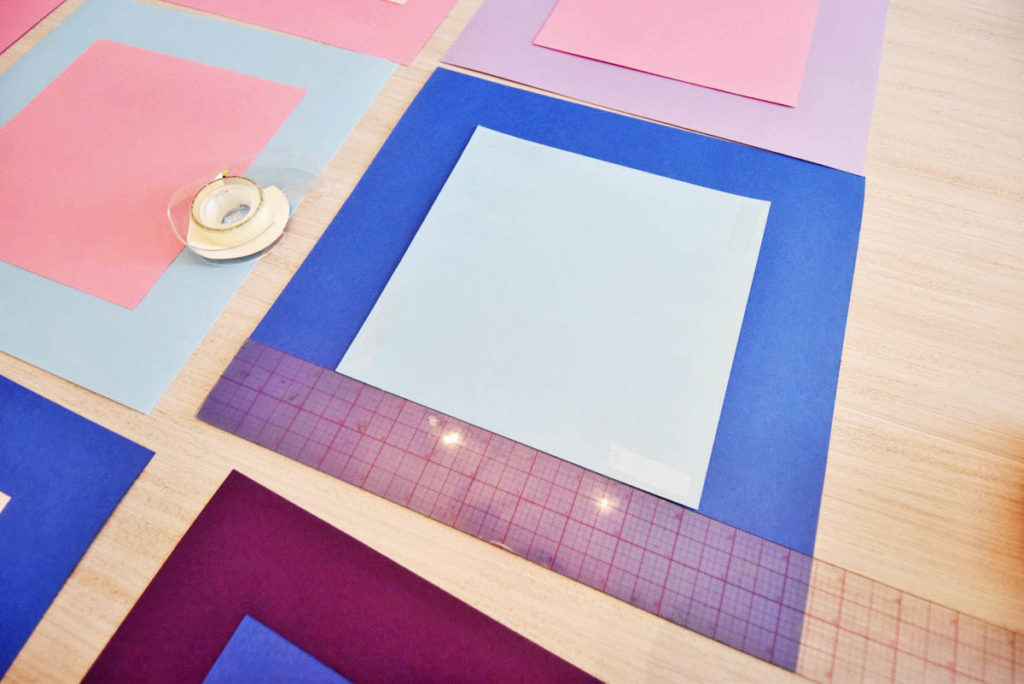
Step 3:Measure 2″ from each side of background paper (using a clear ruler is easiest to do this) and use a few pieces of double stick tape to secure the front square to the back.
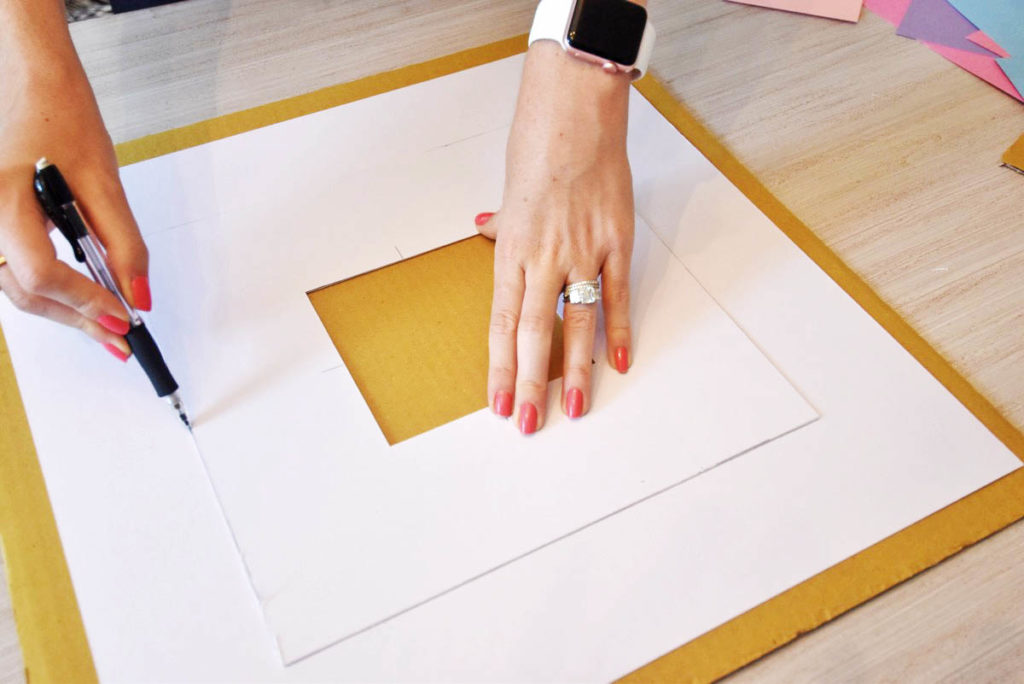
Step 4: Remove the mat from the frame. The hole of my frame was 4.5×4.5″ which is too small. I chose to have an 11×11″ hole so that the 12×12″ paper squares would overlap slightly. Using a pencil and ruler, find the center of the hole and measure a square outwards, to create a new 11×11″ box. Cut along the line with an X-acto knife.
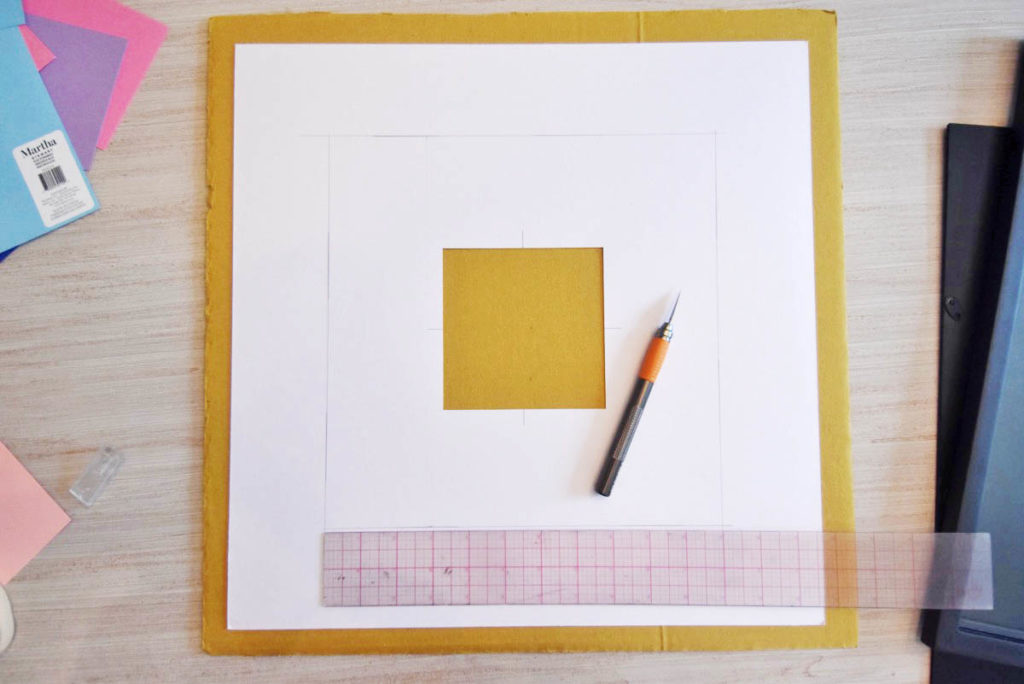

Step 4: Use the square you just cut out, as a template to cut the mats of the remaining 8 frames to save time.
Step 5: Place your squares in the center of the mat and secure with regular tape. Re-frame!
TO HANG: One way is to create a template out of cardboard that is the same size as your frames, and pop holes indicating where the nails should go into the wall. I did this for 6 of my frames, but 3 just weren't working, so I have them hanging with command strips. Command strips are great for lightweight pieces, but make sure to check the weight allotment on each strip (as they are different!) to make sure they will hold the weight of your frame.
DIY Color Block Wall Art was last modified: June 26th, 2018 by
3 Piece Canvas Art Diy Color Block
Source: https://thestylesafari.com/diy-color-block-wall-art/
0 Response to "3 Piece Canvas Art Diy Color Block"
Post a Comment